
DIY: Pressed-Leaf Greeting Cards
Living in Michigan means we pay a lot of attention to our foliage—specifically around the time of year that we associate with pumpkins, sweaters, doughnuts, cider, spooky stories, and all that jazz. Yes, we’re talking autumn (or as those of us who like to make fun of people when they trip call it, fall).
The surest sign that fall is coming must be leaves! We’ve got our yellows, our oranges, our reds, browns, and even a few purples here and there. The smattering of colors we see across a stretch of woodland this time of year is genuinely breathtaking, and since I was a little girl, I’ve always been fond of collecting the most beautiful specimens for pressing, saving, and crafting with.

When one has a large collection of pressed leaves, one must decide what to do with them. I love them most of all when I can showcase them, so I generally opt for framed collages, scrapbook pages, and—my personal favorite—greeting cards, which is what this blog is about.
Now when you begin a leaf-pressing project, don’t forget that the pressing process takes a week or so. Once pressed, the leaves pretty much stay in that form indefinitely (I have a shoebox full of pressed leaves and flowers that are probably around ten years old).
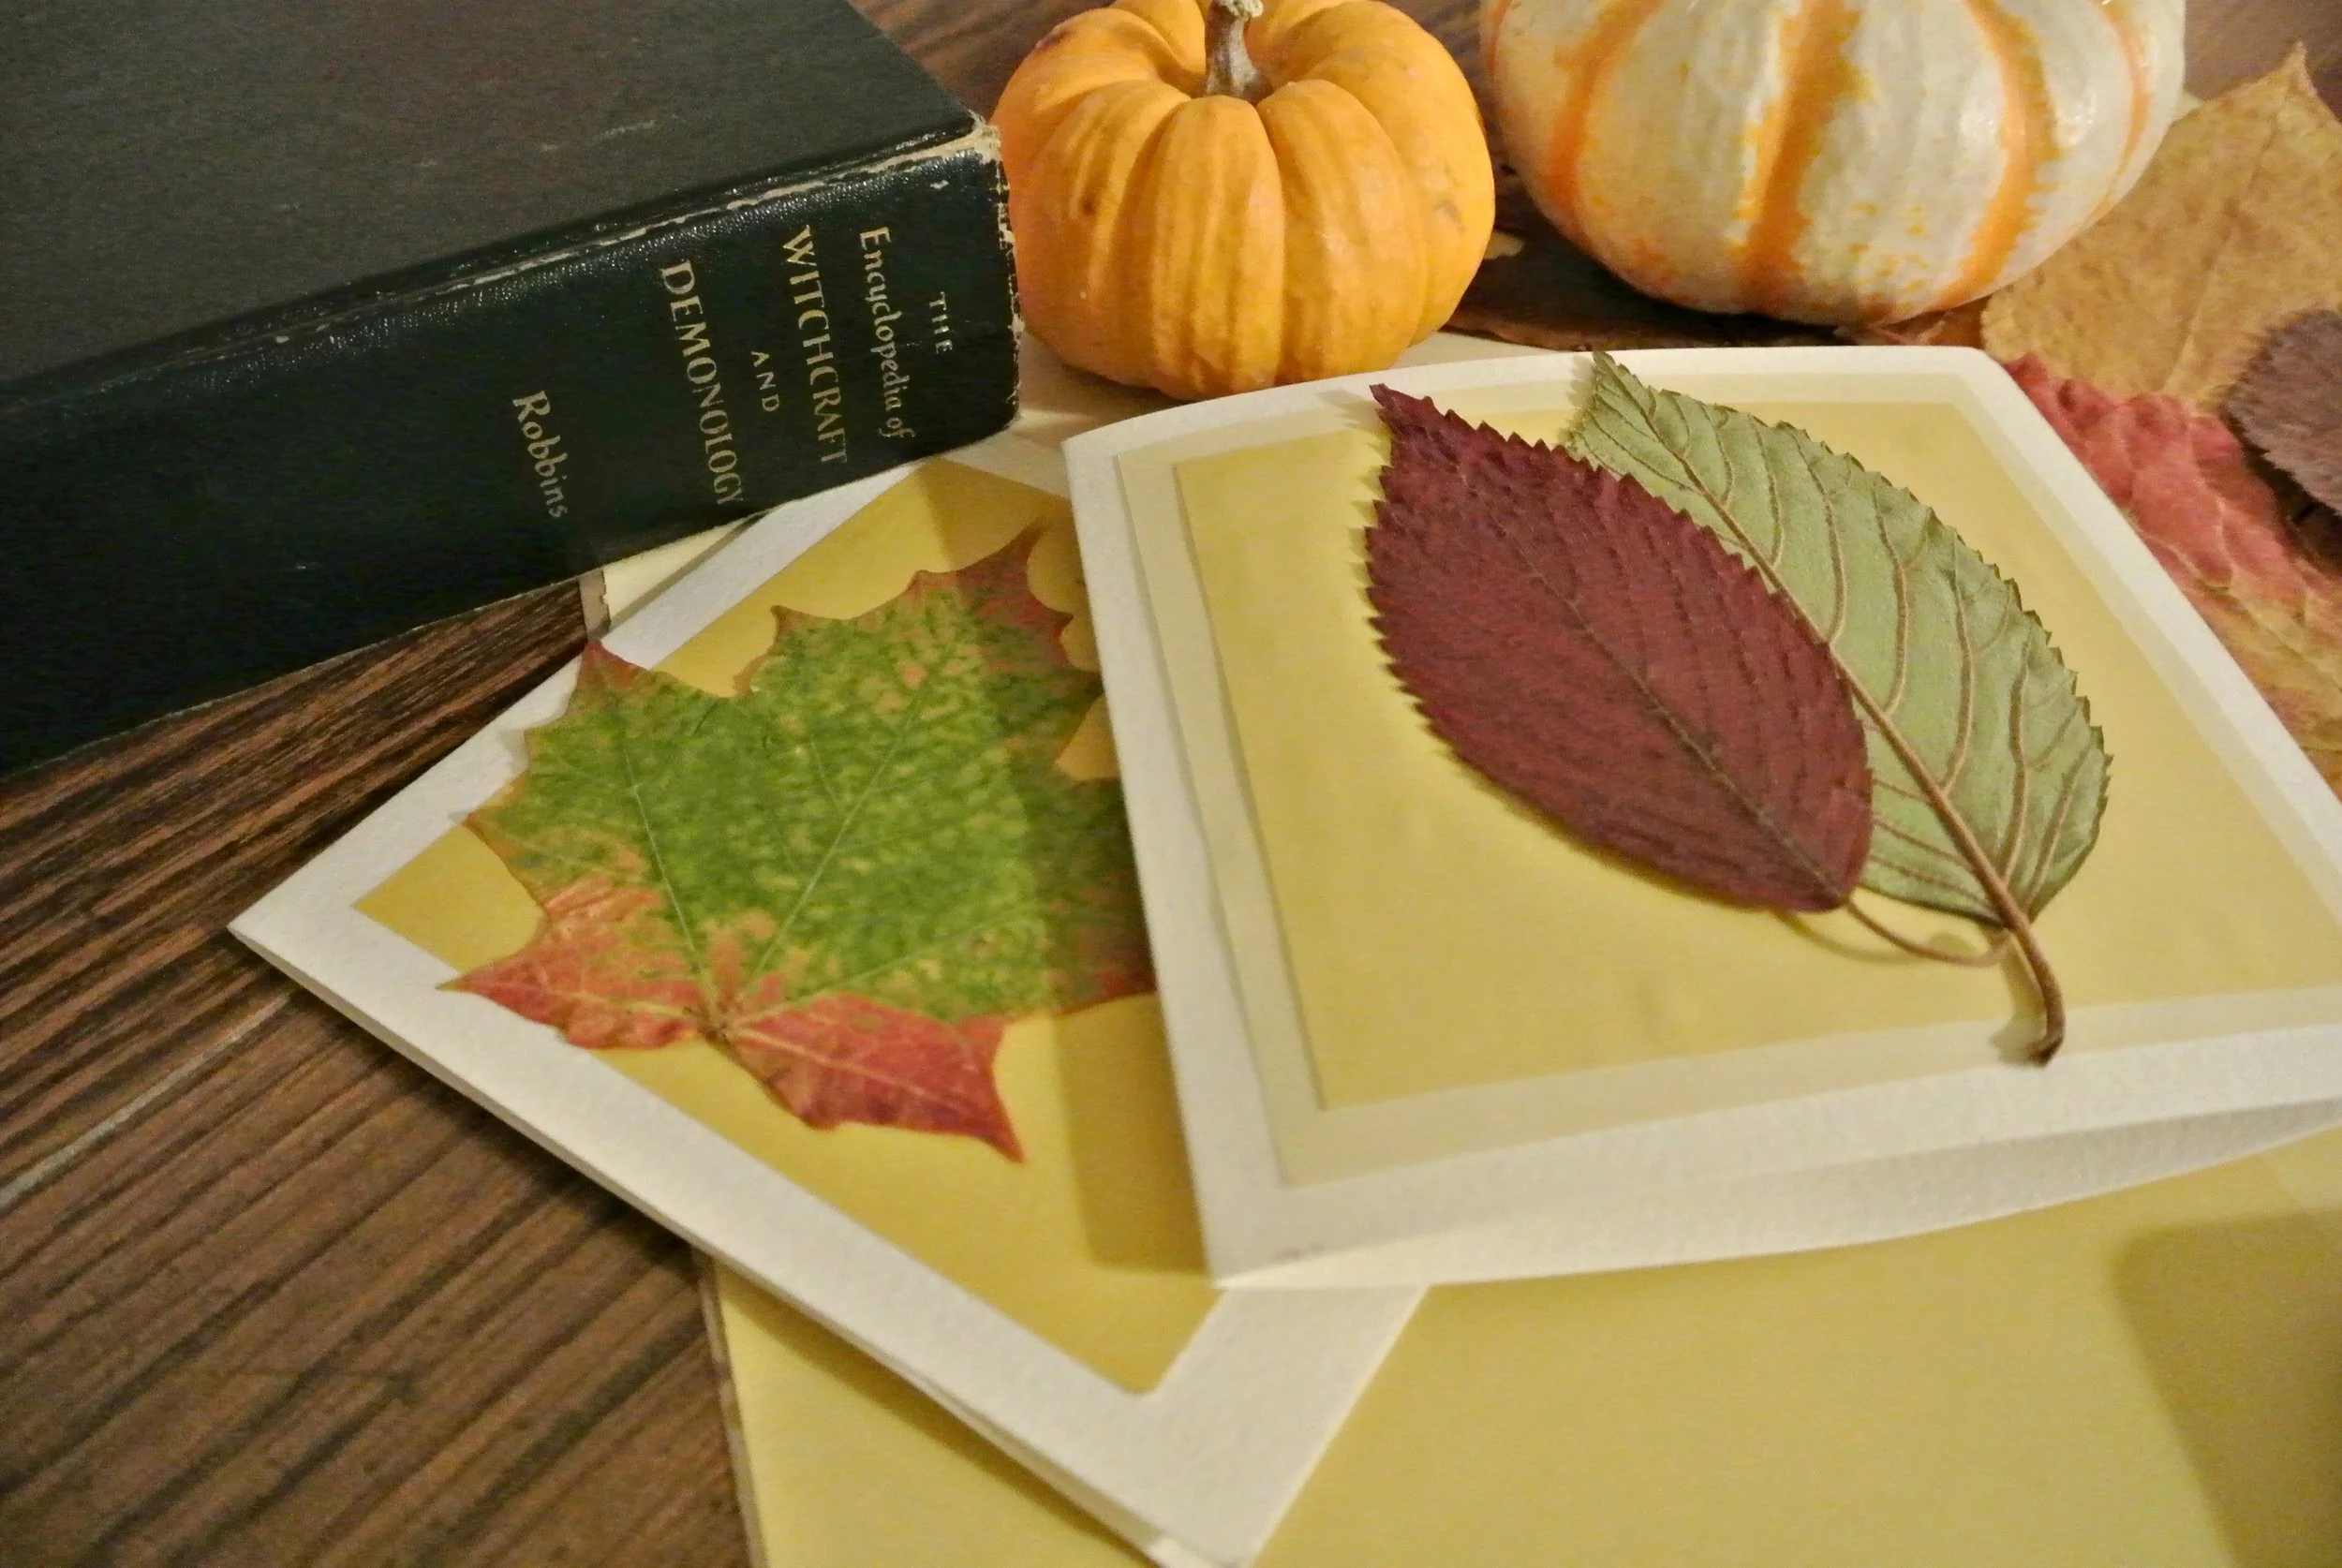
You’ll want to start with a thick, hardcover book. Growing up, I always used my mother's copies of The Complete Works of William Shakespeare and The Encyclopedia of Witchcraft and Demonology (fitting for October, don't you think?). I wouldn’t recommend using a book that’s incredibly special because shoving leaves between the pages can damage the book over time causing staining, wrinkly pages, and spine separation. I like to try to put at least an inch of space between each leaf as I fill a book in, and be sure the leaves don’t have any moisture from outside on them.
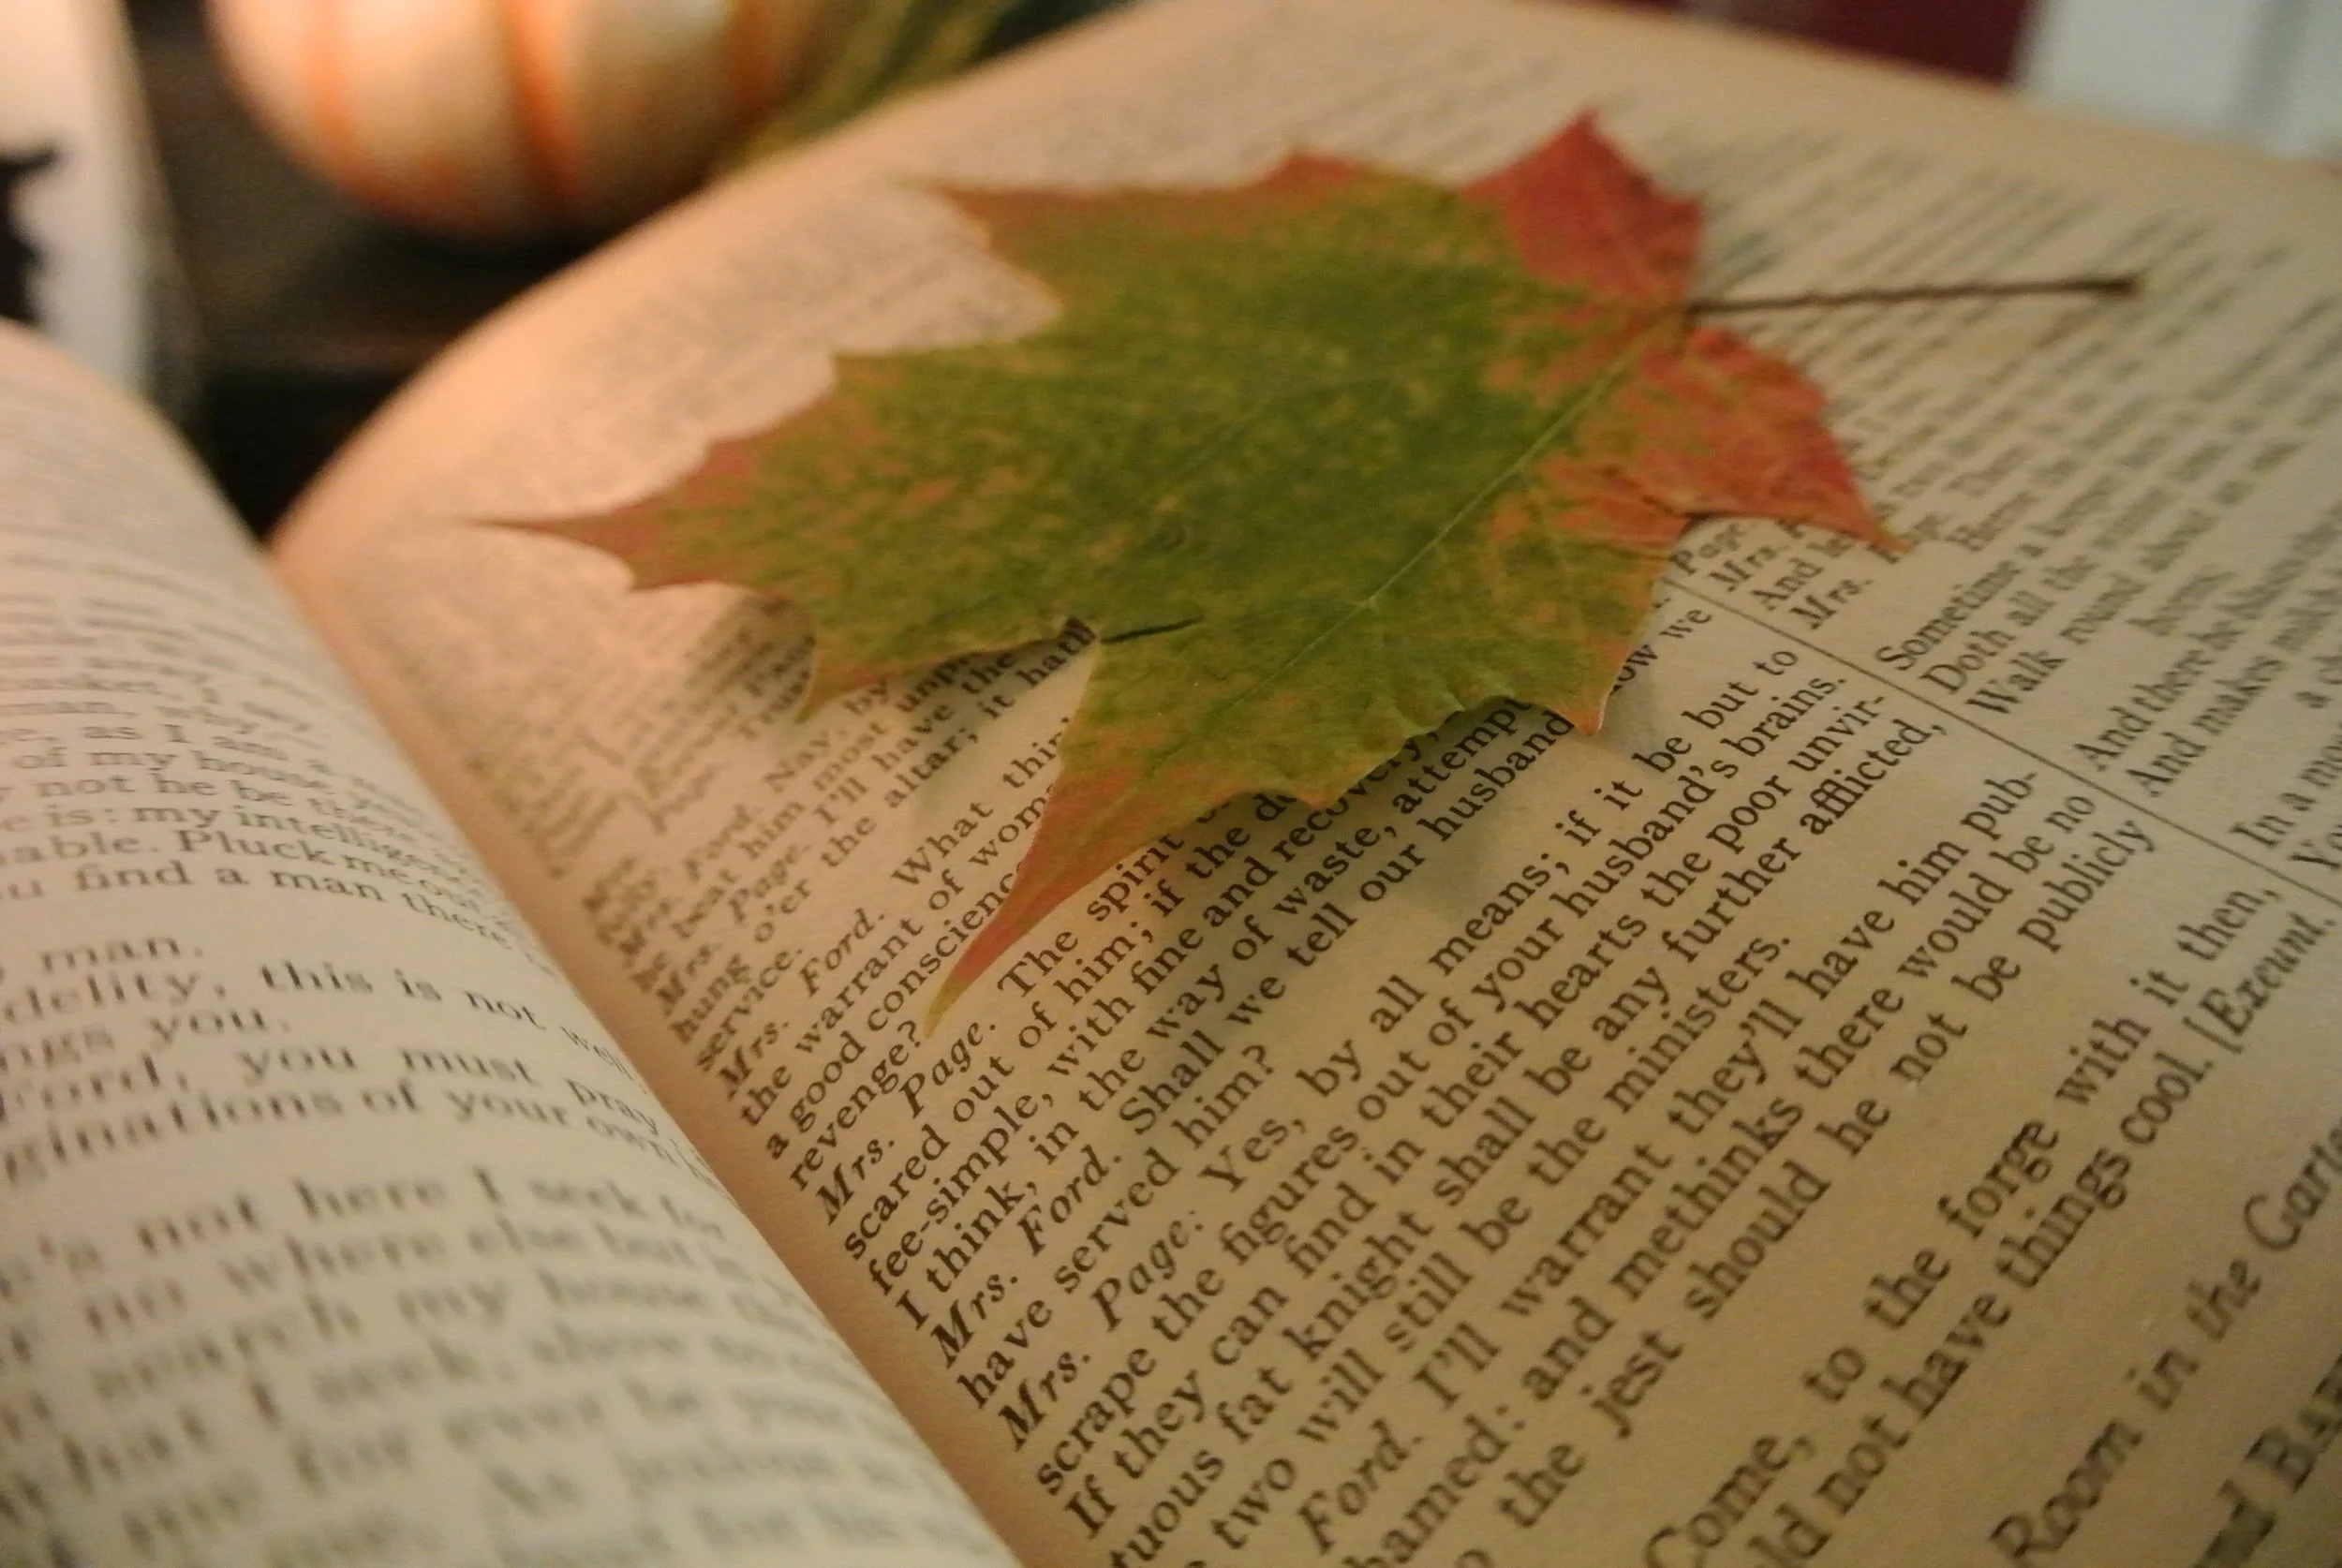
The leaves you press should be freshly collected—once they start to dry out and wrinkle, they won’t fully flatten as easily. I usually give my leaves a week at minimum, but you can check on them after a few days and see how flat and crisp they’re looking. Once the leaves have been fully pressed, you’re ready to start crafting!
Greeting Card Supplies:
- Cardstock
- Patterned/Scrapbooking Paper
- Liquid Multipurpose Glue
- Scissors
- Colored Pencils/Markers (optional)

Start with a long rectangle of cardstock and fold it in half to make the card base. Because the cardstock is much thicker than regular paper, I usually use an object, often the long part of a pen or the handle of my scissors, to smooth down the crease where the card is folded several times pushing down hard against the table.
As for the size of the card, it’s really up to you. I usually just use whatever paper I have lying around, so my sizes always vary. My personal favorite for the base of the card is not actually cardstock, but watercolor paper—it offers nice texture to the card.
Once you have your card base, cut out rectangles of patterned paper to put on the front of the card—one or two layered offers a bit of depth. I usually eyeball the squares and cut them by hand—they don’t need to be perfect in my opinion. Glue them on by smearing the entire back of each piece with glue and smoothing it onto the card base.

Once you have your patterned paper on the card, just start playing! Try different leaf combinations and arrangements until you find what looks nice. Sometimes I’ll do a few of the same type of leaf together, sometimes I’ll go for different color combinations, and sometimes I’ll just do one leaf if I’ve really got a showstopper.
Cover the backs of the leaves with glue, and place them on one at a time. Once they’re in place, you can write a little greeting on the front if you like, or you can just wait and write on the inside.
To finish up, take your card, place a piece of paper towel over the top to catch any glue oozes, and stack a few books on top of the card to press it flat overnight. And voilà, you’ve got handmade, seasonal greeting cards!
What’s your favorite fall-inspired craft?
Don't forget to follow Mod Bettie on Instagram!


